Baby Carriage Diaper Centerpiece Tutorial

This was the weekend of the big baby shower my mother and I put on. It is fair to say that we often get in way over our heads and commit to more than we often have time for, but somehow we get it done and things always turn out well. I made three centerpieces for the shower along with body scrub as gifts. This was one of the centerpieces and definitely the easiest to make.


Things You'll Need
Blanket
Basket(blanket must be able to go around the basket)
hanger(not needed if basket has middle handle)
2 Receiving blanket
Diapers/burp cloths
Stuffed Animals
Clips

1. Start by folding your blanket so that it is as long as it can be and a little taller than the basket
2. Wrap blanket around the basket and secure with binding clips
3. Tuck top of blanket into the basket
4.Use a wire hanger and bend it to make it into a circle and then bend them towards each other to make a doubled rim semi-circle with no bottom that is as wide as the basket
5. Wrap one receiving blanket around the wire hanger leaving enough fabric on both sides so that it will go to the bottom
6. Place hanger into the basket so it will stick out of it and organize the fabric into the basket so that it looks like the covering of a bassinet.
7. Fill basket to the rim with burp cloths and diapers or whatever you want to fill it with as long as it is even

8. Use second receiving blanket to cover your stacked items in the basket all the way around and tuck in the corners

9. Add stuffed animals or toys

Homemade Train Baby Shower Centerpiece


Things You'll Need
4 Receiving blankets
Package of diapers
Coordinating ribbon
Hair Ties
Sheet of felt
1 cardboard wrapping box(lingerie size)
1 bib
Hot glue gun
Basket
Wheels
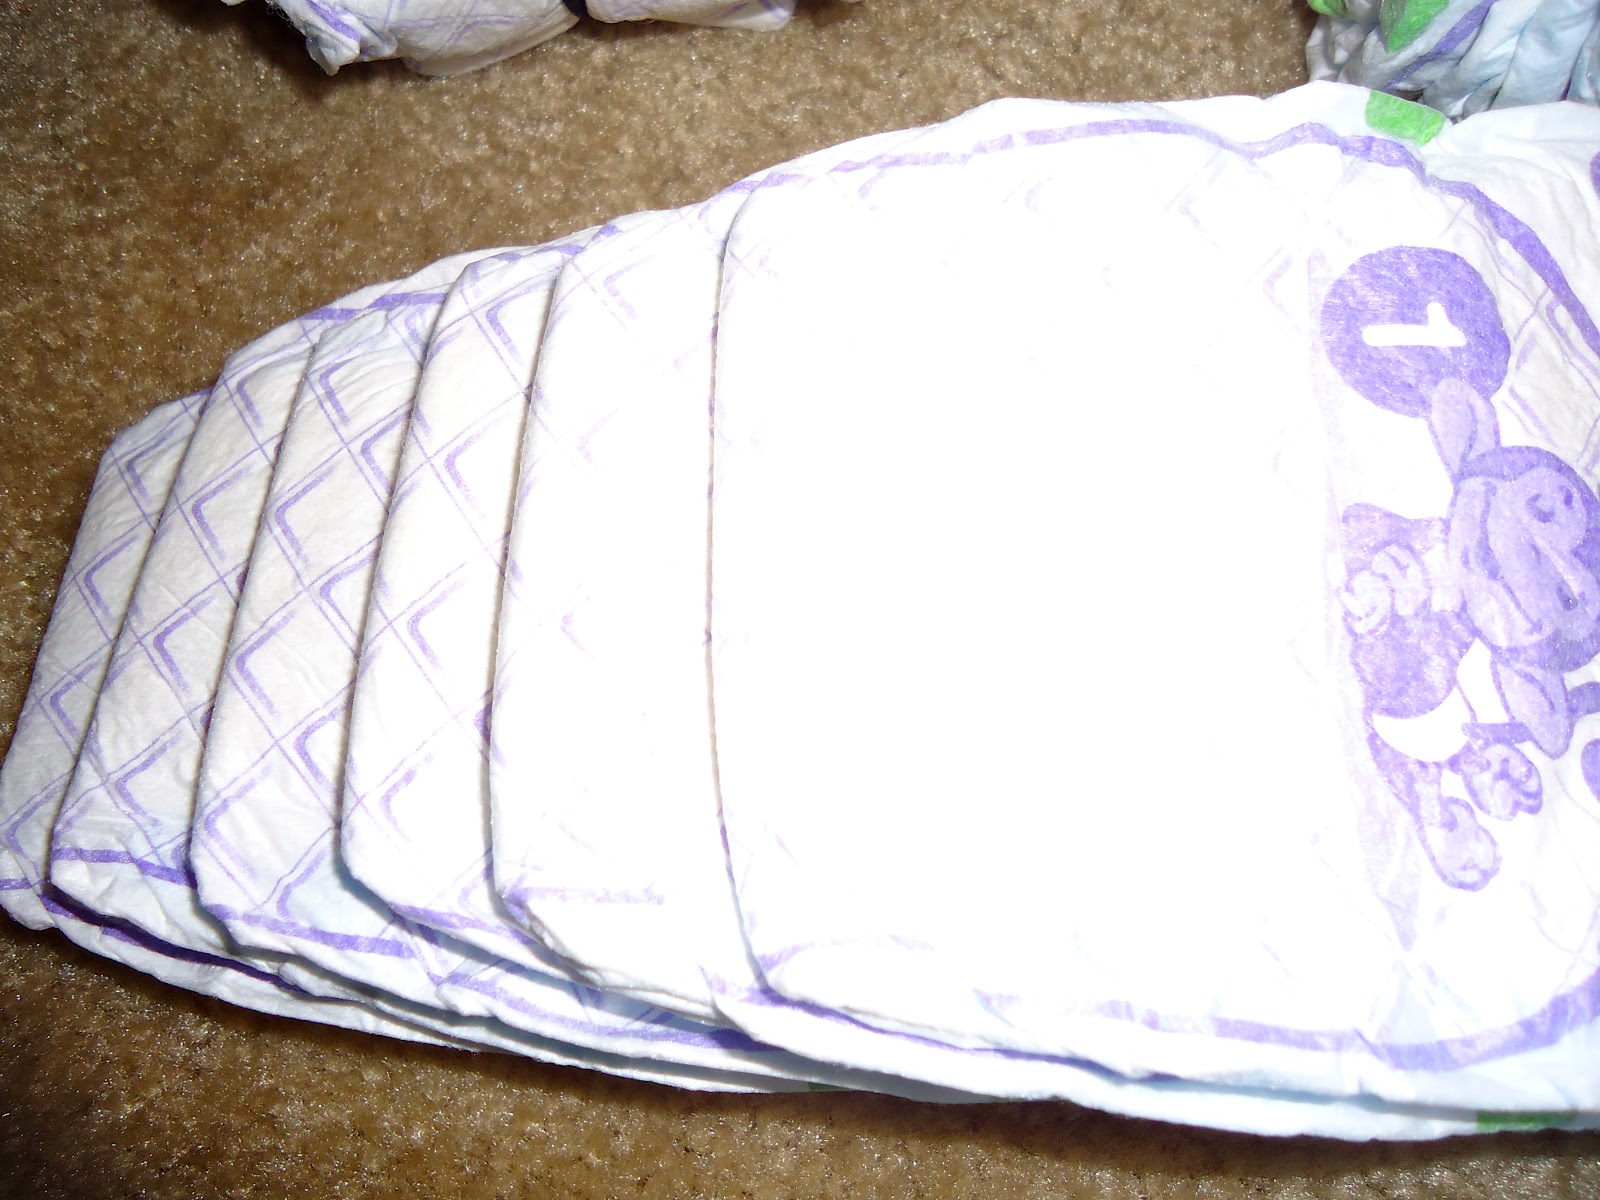
1. Start by stacking up 6 size one diapers as shown below

2. Roll these up so that the top of the diaper will be on the inside
3. Secure with hair tie

4. Measure out ribbon long enough to cover up hair tie
5. Cut out five pieces of ribbon for each wheel
6. Using hot glue, glue ribbon around the hair band

Front
1. Cut off an inch of the lingerie box
2. Fill box with diapers
3. Wrap receiving blanket around box like you would wrap with wrapping paper and secure with tape
4. Roll up receiving blanket and then roll a second receiving blanket around it and secure with masking tape

5. Make a wheel of diapers that is about twice the size of your train wheels and wrap  receiving blanket around it

6. Take your bib and fold it in half twice and then roll your bib up and secure with tape

7. Measure across your box and then use a piece of felt that long in a coordinating color. Fold felt in half and then cut so that you have one inch straight and then a V for the front of the train
8. Place box down and place wheel that is wrapped in the receiving blanket on the very back of the box
9. Then place the 2 wrapped up receiving blankets in front of it

10. Secure these by using ribbon the wraps around is glued on the bottom
11. Measure out a piece of ribbon that will go all the way around the box and attach it using your hot glue gun
12. Attach your piece of felt the the front by using hot glue on your ribbon
13. Using tape secure your bib on top of your two wrapped together receiving blankets
14. Place on top of 3 sets of diaper wheels


Back
1. Fill your basket
2. Place basket on top of 2 wheels

Attaching
1. Use links to attach the front and back through the ribbon on around the box and the ribbon on the tires

Pregnant Belly Cake

Here is a major example of my mother and I getting in over our heads. A good family friend is having a baby this coming November and she loved this cake. We called around to get estimates for the baby shower and the prices ranged between $70-130. Wow! So we decided the the two of us would make the cake instead(neither of us have decorated a cake before). Through some trial and error and with a 6 year old willing to get messy, we were pretty successful.


What You'll Need
3 cake mixes
3 tubs of icing
1 box of fondant
Coloring
Wonder-mold pan
Sports ball pan
Rice Krispie

1. Start by cooking all of your cakes. You will need a sheet cake, 2 of the wonder mold shapes and one half circle
2. Dye 2 tubs of icing the color you need for your sheet cake
3. Ice the cake with 1 1/4 tubs and put in the refrigerator
4. Arrange your wonder mold shapes and your semi circle to look like the mid-section of a pregnant woman
5. Put enough icing on these to allow fondant to stick

6. Cut a foot shape out of your rice krispie and place onto your belly where you want it

7. Dye your fondant(3/4 will go the dress and 1/4 will be your straps)
8. Roll out your fondant for the dress so that it is like a rectangle and then wrap around the rolling pin


9. Lay the fondant across your mid-section and use your hand to make it stick to the icing in the shape you want

10. Cut off the excess leaving enough on the bottom so that it looks like a dress
11. Using your strap fondant cut out a 1.5 inch strap with pointed ends and lay between belly and wonder mold
12. Cut out 2 more straps and attack to top of wonder molds and bring up to overlap to look like the straps on the top of the dress
13. Pull sheet cake out of the fridge and use remaining icing and straight spatula to ice sheet cake to look smooth
14. Using 2 spatulas pick up your mid section and place on top of the edge of your sheet cake so that it is angled diagonally pointed toward the corner
15. allow fondant of dress to flow of the side
16. Add icing border and flowers if desired(can also add glitter and other various decor)

Easy hand-made mini scarfs

My love for crafts started a couple years back and really took off a year ago. So I finished a few projects before I started blogging in the spring. These are one of those project. They were really cute christmas gifts that the kids loved and really fun to customize per kids preferences.


What You'll Need
Knee high socks
button
thread
trim
Velcro

1. Cut feet off the knee high socks and turn inside out
2. Connect each of the cut off ends and sew together
3. Cut out square of velcro and sew onto the where they will link together on the inside
4. Sew on button over the front velcro are to hide the stitching
5. Cut out trim long enough to sew into the opened bottoms. (I doubled mine to make the trim look thicker)
6. Place trim into the opened bottom and sew closed

DIY Body Scrub

Going to the spa has to  be one of my absolute favorite things in the world. It is probably one of the most expensive things as well. So sometimes the best thing to do is create a spa at home and these are really good to soften the skin.  I also think homemade body scrub makes an awesome, inexpensive, and not to mention an easy gift. We used them as prizes for the last baby shower I helped put together and they were very popular.


What You Need
Epson Salt
Organic Cane Sugar
Oatmeal
Non-scented lotion
Non-scented moisturizing soup
Baby oil
Vaseline
Baking Soda
Food coloring
Essential oils or fragrance
Mason Jar

1. Grind down 1/8 cup oatmeal
2. Mix together 2 tbsp lotion, 2 tbsp soap, oatmeal, 2 tbsp vaseline, 1 tbsp baking soda, 2 oz baby oil
3. Add 60 drops of fragrance
4. Mix in 3 cups Epson Salt and 1/4 cup organic sugar
5. Add food coloring and additional fragrance if necessary
6. Seal in mason jar for long term storage or any other air tight jar
7. Decorate jar for gifting


Child's White Coat

So this was one of my wing-it kind of projects. I thought it would be pretty busy, but it definitely was pretty challenging. Though it definitely turned out pretty well after a lot of work and frustration and she was very excited to get it. Extremely excited about her stethoscope to go with it and spent all of her birthday party diagnosing everyone at her party from weird sounds to having too big of belly-buttons. Definitely a good project to finish. If there is enough interest I will try to come up with a full tutorial for the coat, otherwise I definitely suggest trial and error and lots of patience. 


Breakfast at Tiffany's Tulle Dress

The decision to make this dress is linked to an adorable story of a 6 year old who told me she MUST have this dress and she would need to dye her hair brown of course. With her birthday right around the corner, I figured it would be a perfect excuse to try my hand at tutu dresses. This was a pretty simple project and super fun for little girl dress-up or maybe even big-girl halloween.


Things you need
Black tulle-I used 20 yards of 6 in across for hers
Black elastic
1yd black satin
Black ribbon

1. Measure around the chest under the armpits. Take this number and subtract 3 inches and measure out this length of elastic
2. Sew your elastic together at the ends
3. Measure from right below the under arms down to the knees, double it, and add 3 inches. This will be the length you need for the tulle.
4. Cut your tulle into 6 in strips the length you calculated above

5. Put your elastic around something round (I use my leg)

6. Fold each piece of tulle in half, put the middle under the elastic, pull the end through the loop that is under the elastic to make a knot until you have down this with each piece of elastic

7. Measure out your satin so that it will fit around as a kind of slip(this is optional but keeps the dress from being itchy) and sew together edges. You kind of want to make it V shaped so they have enough room to move around
8. Sew the top of your satin tube onto your elastic
9. Add two loops of satin on each side of the tube for your ribbon to go through later
10. Measure your shoulder length and cut out  4 pieces this size and sew where you want your shoulders to go
11. Tie your shoulder ribbons together, these are adjustable which makes it nice to make a perfect fit.
12. Straighten out your tulle and then run your ribbon through your loops and tie around the back
13. Pair with tiara, black shoes, and red fingernail polish :D

Contributors