Shellie's Baby Shower

After many months of planning and getting ready, today was finally the day of Shellie's Baby Shower. Though the day started with some tears(the room we reserved was locked), it ended well with my dad playing the hero. It was a big success and little Quentin is already spoiled at 33 weeks gestation. This was also a big exciting event for my mother and I as it was the first party we have throw together and decorated together. We may have gotten in a little over our heads, but the results were great. We worked on the cake together and she made the tulle wreath and prepared all the other decorations and the delicious food including homemade salsa(my fav!). As for Shellie, I would say she has plenty to sort through and she had a very exciting(exhausting) day.


Burp Clothes

For every new baby, my grandmother buys cloth diapers with the add-on comment that they aren't to be used as diapers this is the modern world, they are the perfect burp rags. So with the old piece of knowledge and the need to make things pretty I made some burp rags out of cloth diapers and flannel. These are super easy and extremely cute, not to mention handy.


What You'll Need
Flannel (1/3 yard per diaper)
cloth diapers
Sewing machine
Thread
Pencil

1. Start by folding your cloth diaper in half

2. Lay your flannel out and lay your diaper that is folded on top of it

3. Cut off the excess flannel

4. Make sure the back of the flannel is facing out and the front of the flannel is facing in and sew together 3 3/4 sides leaving a small bit not sewn on one side. 

5. Flip inside out so that the flannel is now on the right side and use a pencil to push out the corners(note: be gentle the cloth diapers can catch on sharp objects)

6. Tuck in the none sewn side and sew close to the edge


7. Sew 3 lines down the burp cloth so that it will be broken into four sections(this is simply to hold the diaper in place

8. Repeat


Diaper Cake

I have always thought the diaper cake idea was a great one, but I'm all for taking things to the next level to make things look better. So this is my version of the diaper cake. Enjoy!


What You'll Need
2 Receiving blankets
Package of diapers
Stuffed animal
Paper mache container(optional)
Shredded paper
Cake bottom
Ribbon
Tape

1. Start by rolling up one diaper and measuring it will ribbon, then cut out enough ribbon pieces that size for the number of diapers you will use

2. Tape each ribbon into a circle by wrapping tape around the ends


3. Roll each of your diapers and slip a ribbon loop around each

4. Organize your diapers into a circle and then tie a string around them. (I used a circular contain to stack my in and then slipped string around to hold it)(note: you can make each layer as big as you'd like but remember your receiving blankets are only so long)

5. I used a paper mache container filled with other gifts for the second layer which I found at Hobby Lobby but they are sold at various craft stores

6. Wrap both your container and your layer of diapers in receiving blankets
7. Stack container onto of your diaper layer
8. Use shredded paper for the top and around the sides to cover the diapers and top with a stuffed animal

9.Place cake onto a cake circle for easy carrying


Baby Carriage Diaper Centerpiece Tutorial

This was the weekend of the big baby shower my mother and I put on. It is fair to say that we often get in way over our heads and commit to more than we often have time for, but somehow we get it done and things always turn out well. I made three centerpieces for the shower along with body scrub as gifts. This was one of the centerpieces and definitely the easiest to make.


Things You'll Need
Blanket
Basket(blanket must be able to go around the basket)
hanger(not needed if basket has middle handle)
2 Receiving blanket
Diapers/burp cloths
Stuffed Animals
Clips

1. Start by folding your blanket so that it is as long as it can be and a little taller than the basket
2. Wrap blanket around the basket and secure with binding clips
3. Tuck top of blanket into the basket
4.Use a wire hanger and bend it to make it into a circle and then bend them towards each other to make a doubled rim semi-circle with no bottom that is as wide as the basket
5. Wrap one receiving blanket around the wire hanger leaving enough fabric on both sides so that it will go to the bottom
6. Place hanger into the basket so it will stick out of it and organize the fabric into the basket so that it looks like the covering of a bassinet.
7. Fill basket to the rim with burp cloths and diapers or whatever you want to fill it with as long as it is even

8. Use second receiving blanket to cover your stacked items in the basket all the way around and tuck in the corners

9. Add stuffed animals or toys

Homemade Train Baby Shower Centerpiece


Things You'll Need
4 Receiving blankets
Package of diapers
Coordinating ribbon
Hair Ties
Sheet of felt
1 cardboard wrapping box(lingerie size)
1 bib
Hot glue gun
Basket
Wheels
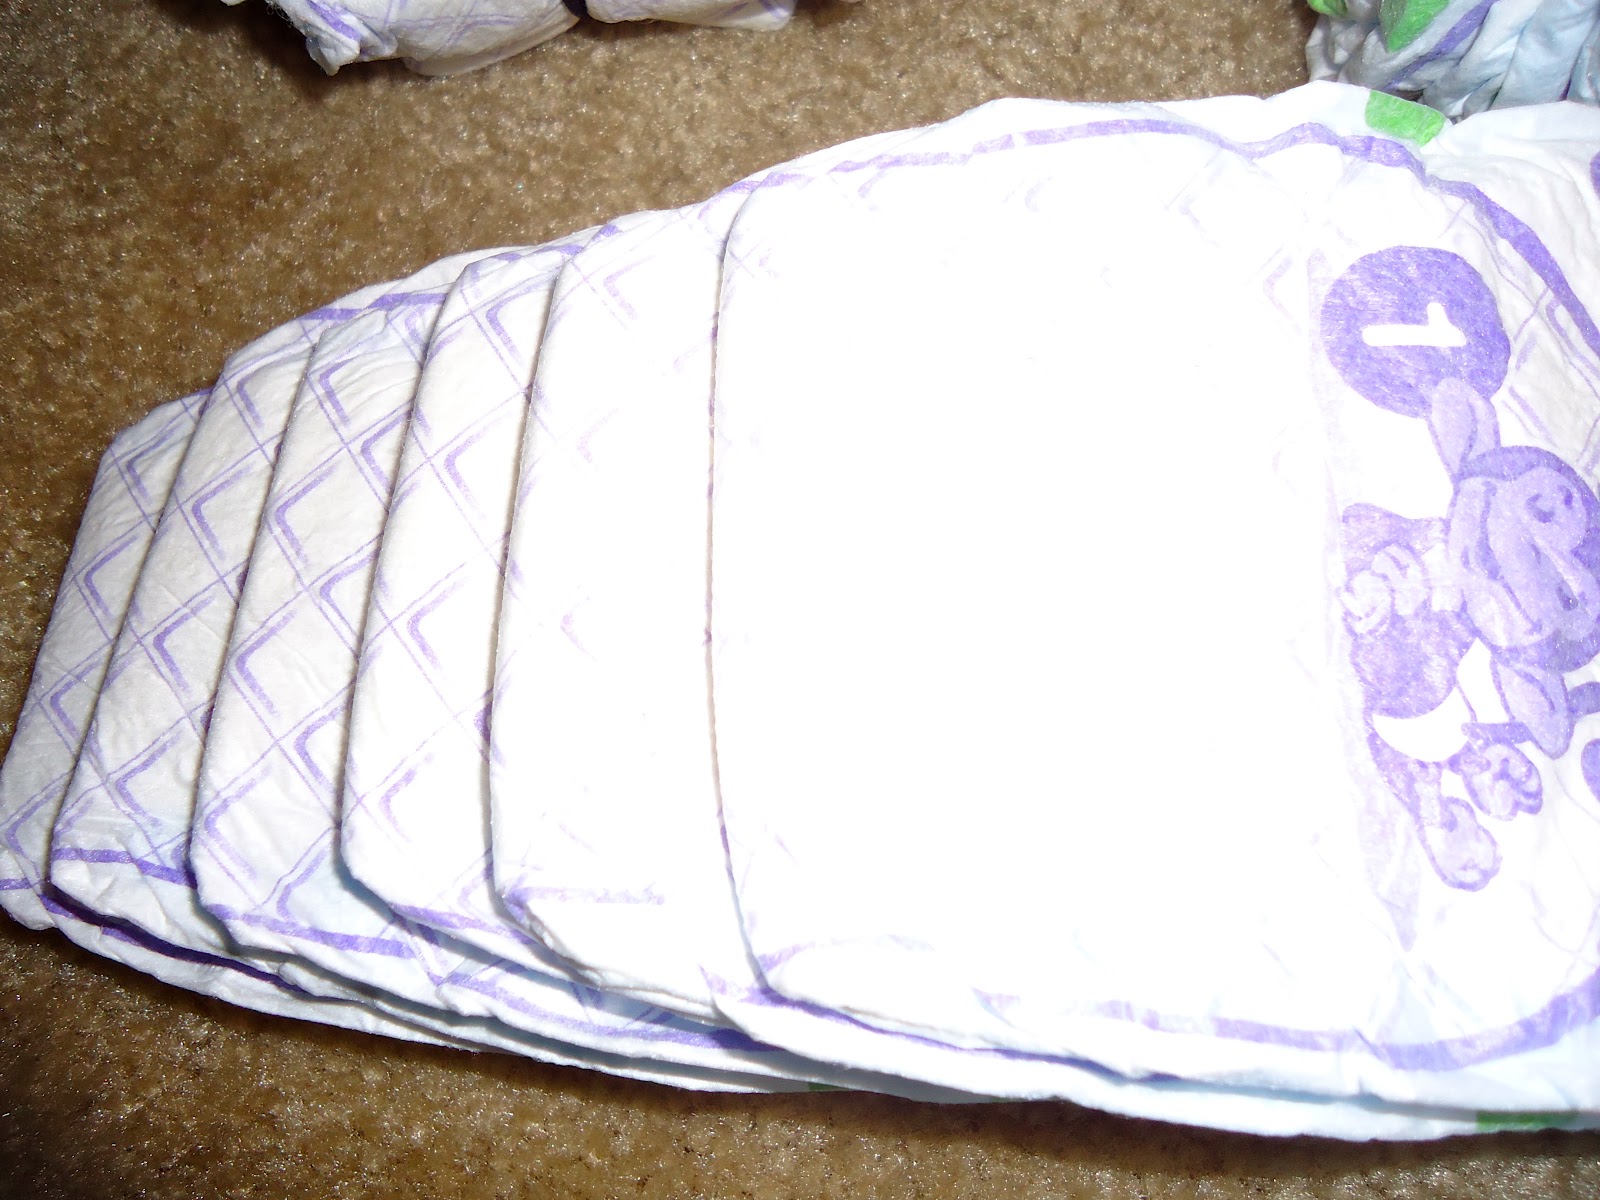
1. Start by stacking up 6 size one diapers as shown below

2. Roll these up so that the top of the diaper will be on the inside
3. Secure with hair tie

4. Measure out ribbon long enough to cover up hair tie
5. Cut out five pieces of ribbon for each wheel
6. Using hot glue, glue ribbon around the hair band

Front
1. Cut off an inch of the lingerie box
2. Fill box with diapers
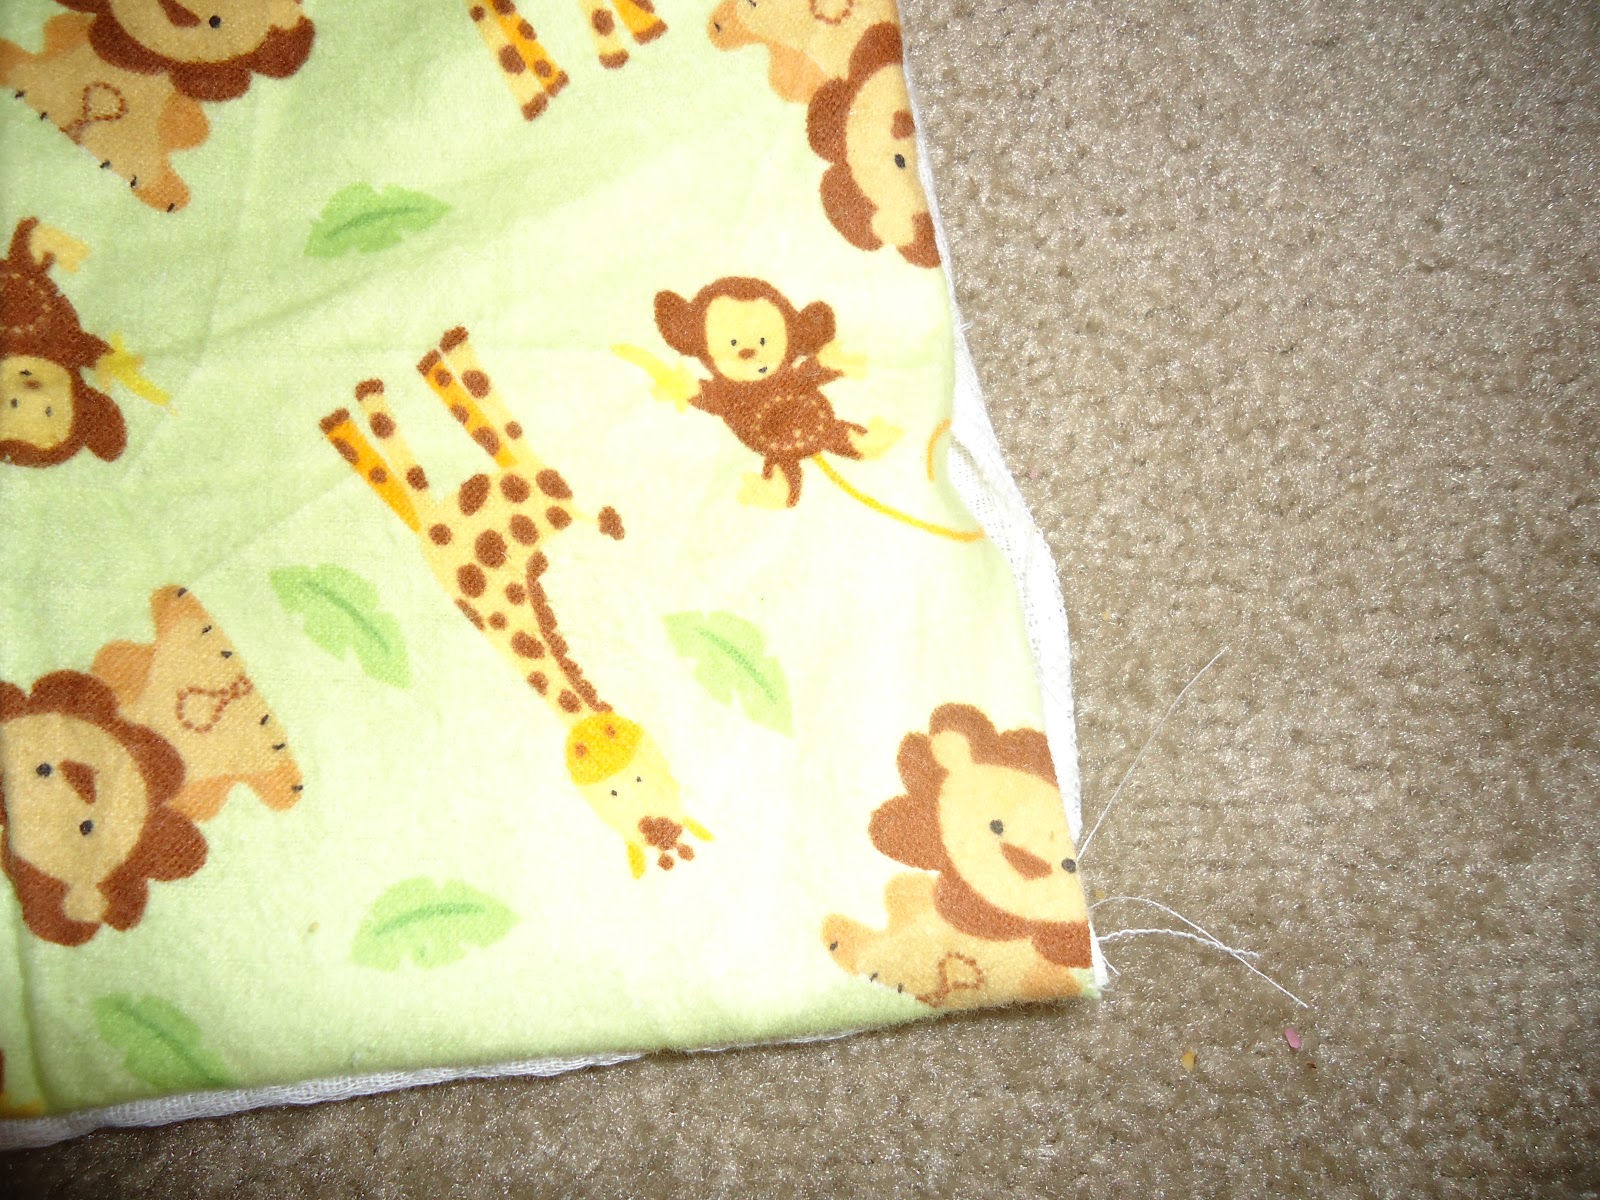
3. Wrap receiving blanket around box like you would wrap with wrapping paper and secure with tape
4. Roll up receiving blanket and then roll a second receiving blanket around it and secure with masking tape

5. Make a wheel of diapers that is about twice the size of your train wheels and wrap  receiving blanket around it

6. Take your bib and fold it in half twice and then roll your bib up and secure with tape

7. Measure across your box and then use a piece of felt that long in a coordinating color. Fold felt in half and then cut so that you have one inch straight and then a V for the front of the train
8. Place box down and place wheel that is wrapped in the receiving blanket on the very back of the box
9. Then place the 2 wrapped up receiving blankets in front of it

10. Secure these by using ribbon the wraps around is glued on the bottom
11. Measure out a piece of ribbon that will go all the way around the box and attach it using your hot glue gun
12. Attach your piece of felt the the front by using hot glue on your ribbon
13. Using tape secure your bib on top of your two wrapped together receiving blankets
14. Place on top of 3 sets of diaper wheels


Back
1. Fill your basket
2. Place basket on top of 2 wheels

Attaching
1. Use links to attach the front and back through the ribbon on around the box and the ribbon on the tires

Pregnant Belly Cake

Here is a major example of my mother and I getting in over our heads. A good family friend is having a baby this coming November and she loved this cake. We called around to get estimates for the baby shower and the prices ranged between $70-130. Wow! So we decided the the two of us would make the cake instead(neither of us have decorated a cake before). Through some trial and error and with a 6 year old willing to get messy, we were pretty successful.


What You'll Need
3 cake mixes
3 tubs of icing
1 box of fondant
Coloring
Wonder-mold pan
Sports ball pan
Rice Krispie

1. Start by cooking all of your cakes. You will need a sheet cake, 2 of the wonder mold shapes and one half circle
2. Dye 2 tubs of icing the color you need for your sheet cake
3. Ice the cake with 1 1/4 tubs and put in the refrigerator
4. Arrange your wonder mold shapes and your semi circle to look like the mid-section of a pregnant woman
5. Put enough icing on these to allow fondant to stick

6. Cut a foot shape out of your rice krispie and place onto your belly where you want it

7. Dye your fondant(3/4 will go the dress and 1/4 will be your straps)
8. Roll out your fondant for the dress so that it is like a rectangle and then wrap around the rolling pin


9. Lay the fondant across your mid-section and use your hand to make it stick to the icing in the shape you want

10. Cut off the excess leaving enough on the bottom so that it looks like a dress
11. Using your strap fondant cut out a 1.5 inch strap with pointed ends and lay between belly and wonder mold
12. Cut out 2 more straps and attack to top of wonder molds and bring up to overlap to look like the straps on the top of the dress
13. Pull sheet cake out of the fridge and use remaining icing and straight spatula to ice sheet cake to look smooth
14. Using 2 spatulas pick up your mid section and place on top of the edge of your sheet cake so that it is angled diagonally pointed toward the corner
15. allow fondant of dress to flow of the side
16. Add icing border and flowers if desired(can also add glitter and other various decor)

Contributors