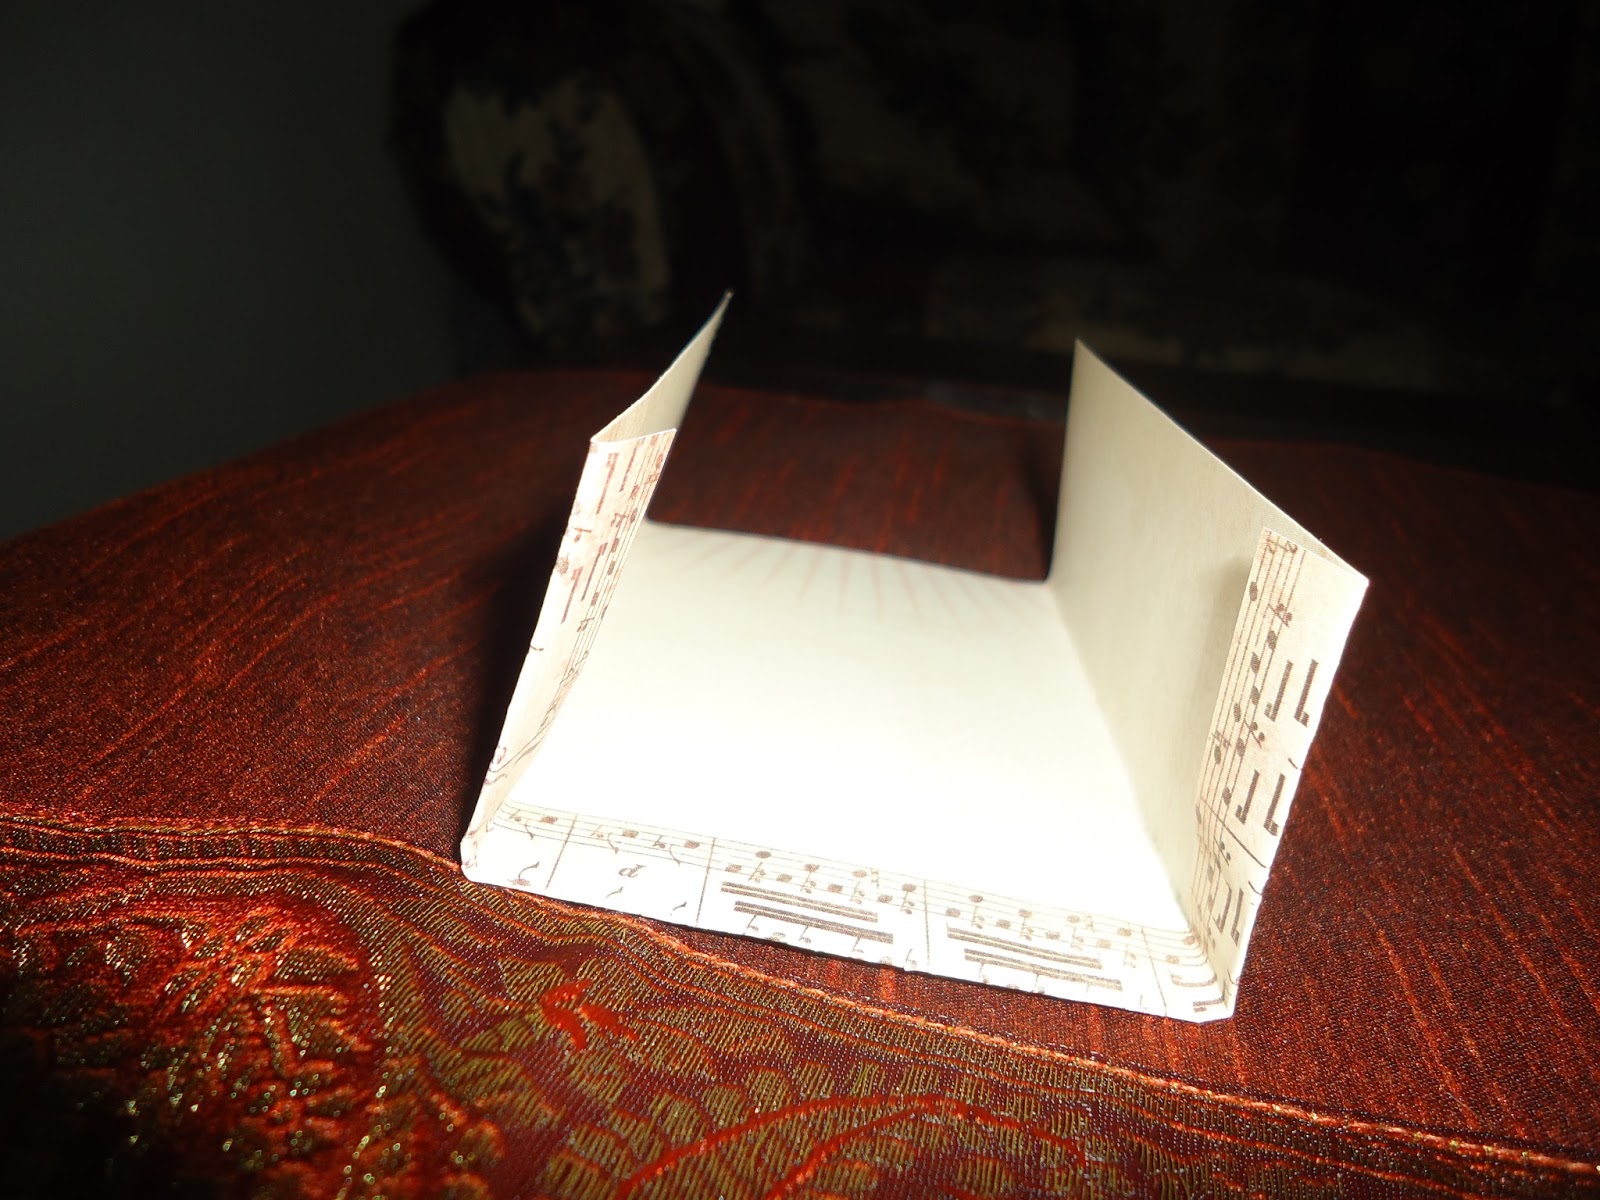
Mini-envelopes

I made a whole batch of these for a project I should finish up somewhere around the beginning of December. They are super cute and easy to make. Useful for gift cards, but you will see what I am using them for in the next few weeks.

What You Need
Scissors
Glue
Card Stock

1. Cut your card stock so that it is as tall as you would like +1 inch


2. Then it should be cut so that it is twice as wide as you want your envelop to be + 1/2 inch
3. Fold up bottom 1/2 an inch

4. Fold the sides so that they overlap by 1/2 an inch in the middle

5. Fold the top down 1/2 inch

6. Cut out small side rectangles as shown on both sides

7. Round your corners
8. Fold 1 side down and put on glue then fold other side down


9. Then fold bottom over those and glue down
10. Use for various projects!

What's Next? Other Blogs and such

Today was one of my few days off from school for the next couple of months. Life is incredibly busy. However, I put up some fall decorations today and plan to put together a fall arrangement once I find a vase I like. When I am all done I will post pictures of the finished product. I bought fabric for the second taggie I am going to make and once that is all done I will post a tutorial(hopefully next weeks post!) I've been doing some art and trying to start planning for Christmas. In the meantime as I try to get my craft room back up and running while keeping up with school, I have also started a second blog which goes through my daily life as a med student which you can check out here!
My sister(who does guest posts) also has started her own blog about her family life which you can find here!
Keep checking back for new projects. Ideally I am going to post on Thursdays!
Happy Fall!

To Soon for Fall?

Where did summer go to? I am pretty sure it never arrived. Or maybe I just spent most of it hibernating at my study table. Yeah that was probably it. So I figure if pumpkin has hit Starbucks it must officially be fall, right? So the first project of the fall is a new wreath for the front door. I LOVE!!!! how it turned out. It cost me about the same amount to make my own unique wreath as it costs to buy one. It is super easy to make and easily changed to fit everyone's style and preferences.


What You Need
Grape Vine Wreath
Fake Flowers/leaves/pumpkins...etc
Clips
Quick Grip Super Glue
Wooden Letter
Paint
String

1. Start by clipping off the flowers or leaves you want to use on your wreath and attaching them to the clips with the super glue. Make sure it is super strong glue or the first sign of wear and the flower will fall off!
2. Clip the flowers around your wreath
3. Add leaves and other such decorations around your flowers. I added leaves for the outside and made a circle of leaves for the inside
4. Paint your letter(My last name initial is H but I liked the K better in the style of letters they had so I went with K)(Give it a good 3 coats)

5. Cut a 18 inches of ribbon and glue onto back of letter

6. Attach ribbon to top of wreath or to wreath holder
7. Hang and prepare for compliments! :D

Happy Fall!


Art or Something Like It

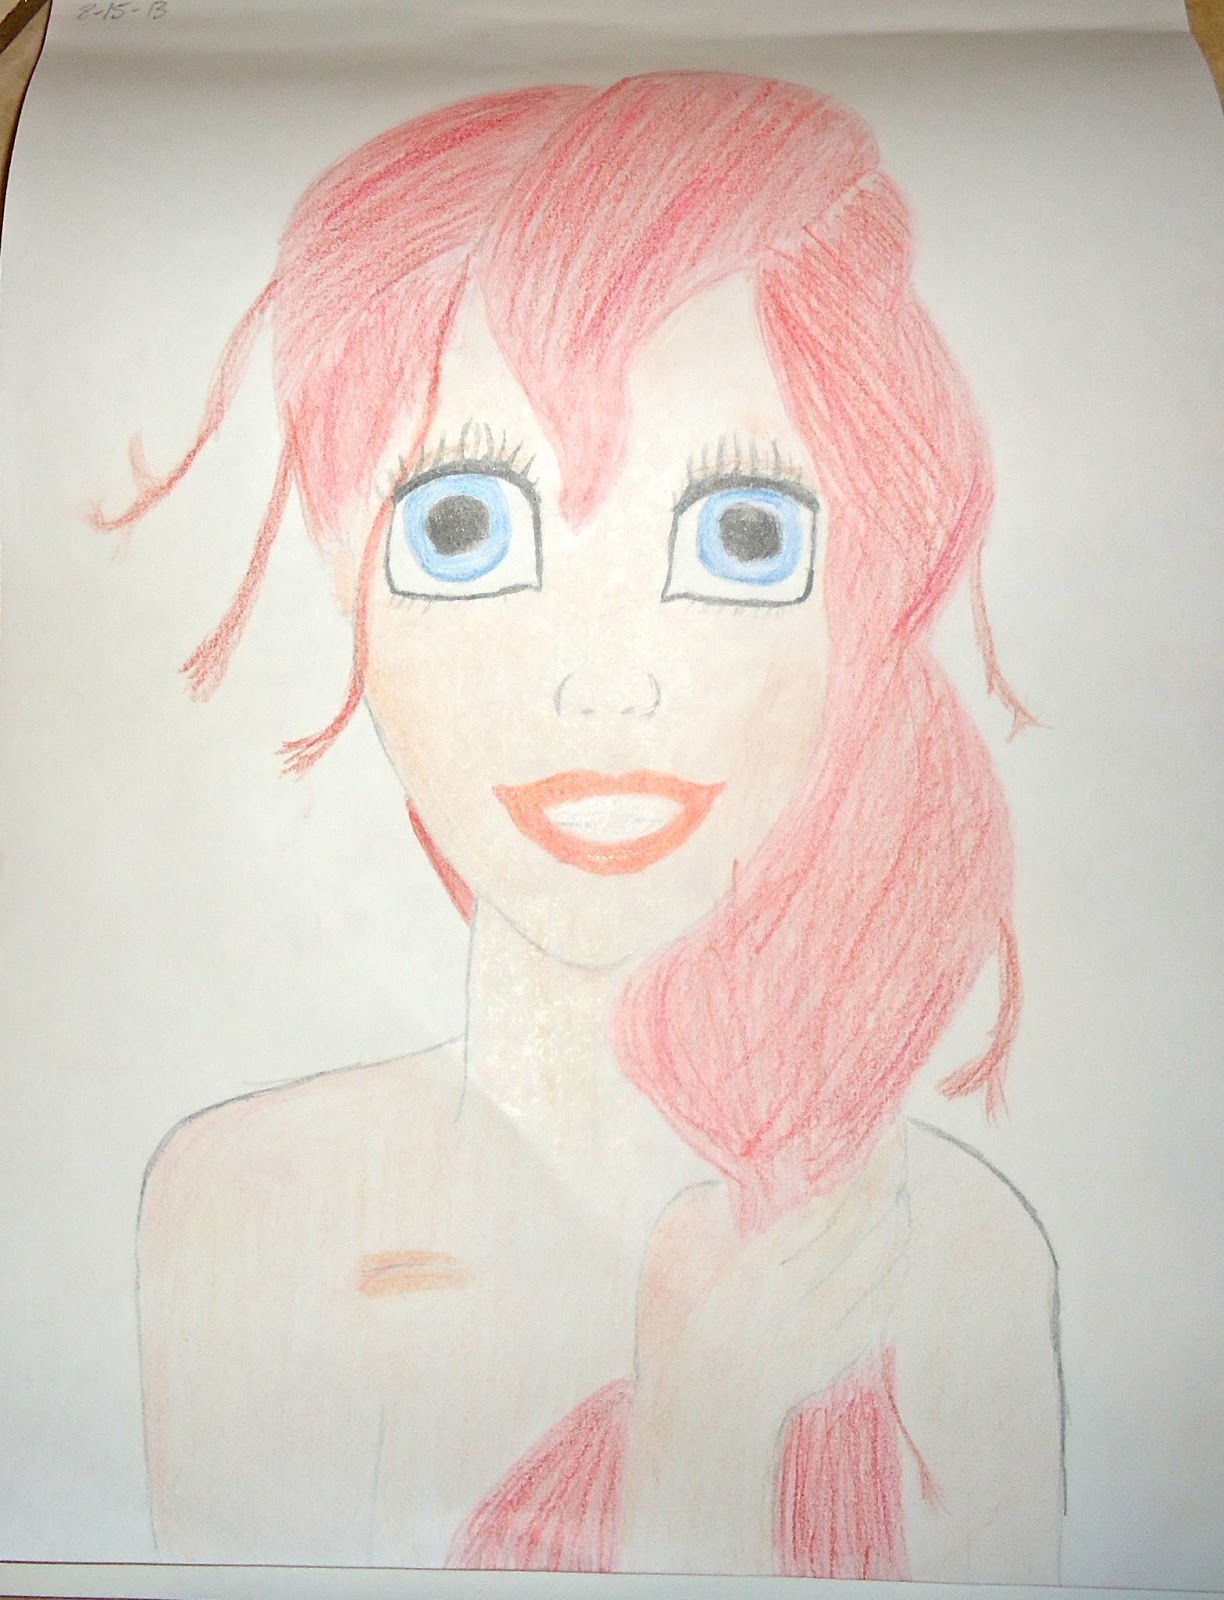
My most vivid memory of my art ability is from when I was in elementary school. Anyone who didn't like art in school can relate to the dread you get when you are asked to draw something for an assignment. I was probably 7 or 8 and I don't really remember what the assignment was, but I remember I drew a buffalo. The teacher walked by and said, "oh, what a nice squirrel." Yup, I was scarred for life. I decided at that moment that I sucked at art and would never, ever be an artist of any kind. Like NEVER. I pretty much have stuck with that throughout life. It is actually that memory that made me decide I wasn't an artist, a crafty person, and I lacked all imagination. Talk about a life changing moment. I may have taken it to heart a little too much(can you really be that overly dramatic at 7? apparently you can). But I started giving up on at least part of that resolution a couple of years ago when I started crafting. My sister did a lot of sewing and made her own centerpieces for her wedding which were fabric birds stuffed with rice. We had a fight at some point during the wedding planning and as a way of calling it a truce and mending bridges I offered to help her with the birds. I had never done any kind of sewing before that(remember, I was sure I sucked at those kinds of things plus I tried to stay as far away from all kinds of needles as possible). I think I finished 1 bird the 3 hours we worked on them and my sister did the other 7ish. I didn't immediately get into crafting, but some time after that I decided to learn to quilt. It was the beginning of everything. Crafting has been something my sister and I have shared ever since. It has become one of my passions. However, I did not give up the notion that I was not an artist of any kind. My baby sister is the artistic being and I was going to leave it to her. But, then this week hit and I needed a new type of stress reliever. I took my medical board exams in July and I was awaiting the results that only come out on Wednesdays. So Tuesday nights have been brutal for the last 4 weeks. This Tuesday I decided to try my hand at drawing just for fun and I might have a new obsession. Let's just say that it is an excellent stress reliever, but I stand by the I will never be a da Vinci. However, I think for someone who has avoided art of all kinds for 15 years, I am doing alright. I also did some painting which I have decided I also really enjoy. Mediocre or not I am definitely enjoying it and I figure what the heck I'll share it will all of you! I hope to post a tutorial for taggies early next week. I am very excited to get back into blogging and I may even start a second blog to share my adventures as a medical student. Until then...


DIY Jewelry Board(Guest Post)


So at almost 9 months very pregnant I was getting very bored and quite anxious to meet our little lady. I decided one random Saturday that I needed a project. I decided to make a jewelry display! I went to the local hardware store and I needed a board about yay by yay size (picture a 5 foot very pregnant woman telling a pimply teen to cut my bored about so big, shown with hands spaced a ways apart, yikes!). In reality it's about 2 feet wide by 15.5" tall.


I painted the entire bored in a minty green/blue. I started in the corner and attached diagonal strips of tape all the across the bored, to ensure even spacing. Then I removed every other piece and painted the open spaces with silver glitter paint.

I picked out 14 drawer knobs, 6 drawer pulls, and a package of lace. My husband attached each piece to the board in the layout I designed. I also added a strip of wide lace that I just taped to the back to hook earrings into. 

I LOVE the piece. It looks beautiful in my room and is very functional. If I were to do it again, I'd make a few changes:

1. This project costed me about $100. Yikes! Next time I'd hit up an antique shop or catch the drawer pulls half off at Hobby Lobby. 

2. I'd fasten my lace better. Heavy earrings really pull it down. Maybe using hot glue on the back and every so often on the front would help. 


Note: I'd like to give a big THANKS to my sister Jamie Roberts for writing this post and helping me to get back into my blog after the crazy busy few months of preparing for my board exams!

Oh! Sunlight

For the last several months I have been preparing for my board exam which I finally took about a week ago. I was hopeful to keep my blog up and running while I was studying, but preparing for boards basically takes you completely away from the world. My last couple of weeks I didn't leave the house and was constantly studying or sleeping. When I finally left the house to take my exam gas prices had jumped $0.40 and the temperature had jumped 20 degrees. I guess you could say that I have been a bit isolated. I've been taking a few days off to recuperate and enjoy my family and friends, but now I'm trying to get back in the swing of things. I'm working on putting together a list of projects(I know my sister and I are going to tackle a repurpose project very soon!) and trying to get things I finished months ago ready to be posted online. I'm super excited to get back in my craft room and begin living again. Look for new posts in the next couple of weeks!

Panel Quilt Tutorial

Though I really enjoy to make complex quilts for the adults in my life, sometimes I come across a single piece of fabric or a panel for an infants quilt and I just must make it. Panel quilts are much easier to make and take up a lot less time, but end up being just a cute and still a homemade gift and who can beat that? My niece got so many quilts before she was ever born, so I decided I would wait to make her one until she was older like maybe for her fifth birthday. BUT...my sister decided to redo my niece's room in owls(it looks amazing by the way) and I found this owl panel and I just had to get it. I love the way it turned out. I used the sewing machine to do the quilting around the objects and it went much better than expected!


What You Need
1 Panel
Batting
Flannel that is as big as your panel
1/3-1/2 of a yard of binding cotton fabric
Sewing Machine
Iron


Preparing your Panel
1. Start by measuring out the size of you panel and cutting out batting and flannel that is the same size.(Note: if you are not using spray basting it is a good idea to have extra flannel and batting on each side for sew basting because it will pull in.)

2. Line up your 3 layers and begin basting them together section by section. Be sure to keep creases out of each layer
3. At this point you should have a quilt sandwich that looks kind of like this:

4. Now comes the stitching. Some people have very nice sewing machines that will do very pretty patterns into the quilt, however I'm a poor medical student so I have a very basic machine and did the pattern myself. You can either use a fabric pen and mark the pattern you want to use or you can trace some of your shapes(I did the animals).
5. You can either use your sewing machine to stitch in your design or you can sew it by hand. I chose to use thread that blended into the background because I wanted the design of the fabric to be the main feature, however if you want your stitching to stand out you should use contrasting thread.


Binding your quilt
1. I used bias tape. There are several different ways you can do binding and because I was in a huge hurry(I put on the binding right before her birthday party), I did my the quick way
2.When you unfold it you will see that inside it is folded inward again(don't unfold these). Starting in the middle of a side pin the binding onto your quilt

3. To make corners fold so that there are two triangles that come together to make a square corner on both in front and back and pin


4. Sew on your binding

Contributors