Though I really enjoy to make complex quilts for the adults in my life, sometimes I come across a single piece of fabric or a panel for an infants quilt and I just must make it. Panel quilts are much easier to make and take up a lot less time, but end up being just a cute and still a homemade gift and who can beat that? My niece got so many quilts before she was ever born, so I decided I would wait to make her one until she was older like maybe for her fifth birthday. BUT...my sister decided to redo my niece's room in owls(it looks amazing by the way) and I found this owl panel and I just had to get it. I love the way it turned out. I used the sewing machine to do the quilting around the objects and it went much better than expected!
What You Need
1 Panel
Batting
Flannel that is as big as your panel
1/3-1/2 of a yard of binding cotton fabric
Sewing Machine
Iron
Preparing your Panel
1. Start by measuring out the size of you panel and cutting out batting and flannel that is the same size.(Note: if you are not using spray basting it is a good idea to have extra flannel and batting on each side for sew basting because it will pull in.)
2. Line up your 3 layers and begin basting them together section by section. Be sure to keep creases out of each layer
4. Now comes the stitching. Some people have very nice sewing machines that will do very pretty patterns into the quilt, however I'm a poor medical student so I have a very basic machine and did the pattern myself. You can either use a fabric pen and mark the pattern you want to use or you can trace some of your shapes(I did the animals).
5. You can either use your sewing machine to stitch in your design or you can sew it by hand. I chose to use thread that blended into the background because I wanted the design of the fabric to be the main feature, however if you want your stitching to stand out you should use contrasting thread.
Binding your quilt
1. I used bias tape. There are several different ways you can do binding and because I was in a huge hurry(I put on the binding right before her birthday party), I did my the quick way
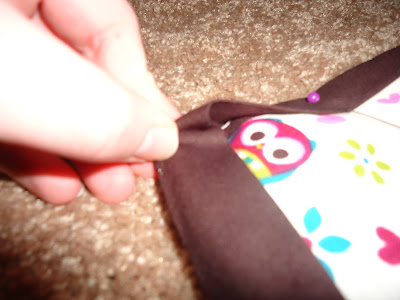
2.When you unfold it you will see that inside it is folded inward again(don't unfold these). Starting in the middle of a side pin the binding onto your quilt
3. To make corners fold so that there are two triangles that come together to make a square corner on both in front and back and pin
4. Sew on your binding


